eats

Thunderbird Thursday: Labor Day Ribs

Hey friends, Joey here. If you’re looking for something easy to cook up over the long weekend, look no further! Here is the way I like to make ribs and of course I ALWAYS cook them on the Big Green Egg. Before I break it down, the ribs featured on this post are seasoned with Thunderbird Chicken Scratch and dusted with Lane’s Sweet Heat rubs. I know Chicken Scratch might seem strange to season ribs with but it was a great rub for sweet ribs with a zing and kick with the compliments Lane’s Sweet Heat. I am working this combo into my rib rotation ASAP.

Preparation:

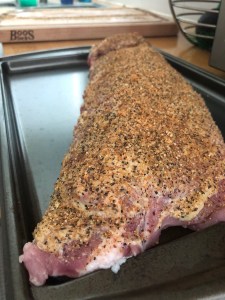
  1. Pull the film layer off the non-meaty side of the ribs.
  2. Trim the hard and thick fat off the meaty side of the ribs.
  3. Season the meaty side with your rub(s) of choice and when you think you have enough, add a little more!
  4. Let the ribs rest in the fridge until you are ready to cook. **Be sure to cover them if you are planning on leaving them for more than a few hours.**
img_0397

Cooking:

  1. Set your BGE to 250° indirect.
  2. Before you add the plate-setter be sure to add your pecan and apple wood. (Pecan and apple wood are my favorites for ribs.)
  3. After the smoke has lost its bluish tint, place the ribs on the center of the grill and close the dome lid.
  4. Rotate the ribs ¼ turn about every 45 minutes
  5. After about 2.5 hours, lay out two sheets of aluminum foil on top of each other, and place four pads of butter on the foil, drizzle some honey over them, add some rub, and pour a few splashes of beer over everything.
  6. At 3 hours, pull the ribs from the BGE and place them meat side down onto the butter bed and wrap them up.  This might take another piece of foil to fully cover the top.
  7. After the ribs are wrapped, place them on the grill for another hour, meat side down.
  8. Pull the ribs from the grill after an hour and let them rest in a cooler or the counter top for at least an hour before serving.
  9. When you are ready to serve unwrap the rib carefully not to spill an juices so that you can us them to sauce the ribs after plating.
  10. A trick to cutting the ribs evenly is the flip them on the meaty side and follow the bones.
  11. Cut the ribs and ENJOY!

img_0405


life

Planter Box Update

Last week, we showed you how to make an awesome (yes, we’ll toot our own horn) DIY Raised Planter Box. This weekend, we went out and planned (and planted) our urban garden. Here’s what we got:

  • Cherry Tomatoes
  • Red Bell Peppers
  • Poblano Peppers
  • Eggplant
  • Basil

Before planting our vegetables, Joey did his homework on what soil combination to use and how much and what type of soil our planter box would need.  He found the website gardners.com to be very helpful in determining how much soil to use with their calculator and the ratio of  topsoil, compost, potting soil, and fertilizer.  Here is what we used:

Here is how we mixed the soils together:

  1. Garden Soil (1 bag)
  2. Compost (Entire Bag)
  3. Lightly mix the two together
  4. Potting mix (entire bag)
  5. Lightly mix
  6. Sprinkle some fish fertilizer
  7. Remaining Garden Soil
  8. Sprinkle more fish fertilizer
  9. Water the soil until it starts to leak from the bottom
**We drilled a few hols in the bottom of the bed so the water could drain easier**

Unintentionally we waited a day of two before planting the vegetables and they seem to be taking to the soil well.  The goal of the soil composition above is to retain the nutrients and water so the plants have time to absorb them to grow big and fruitful! Fingers crossed that is works!!

As always, feel free to run any questions past us and let us know how it works for you.


dogs

Every Day Is #NationalDogDay

Melissa here with the post on #NationalDogDay. Duh – it had to be me!


Sunday was #NationalDogDay.

And like every year on August 26, 2018, the Internet explodes with pictures of everyone’s furry best friends. As I was cuddling Regal in his bed (because he’s still confined to the kitchen because of his TPLO surgery), I reminded Joey of the joyous holiday it was. His quick response was:

I feel like there’s five of those a year.

And he’s not wrong. We are always looking for ways to celebrate our furbabies. So for today’s post, I thought I’d breakdown every day of the year in which you can celebrate your beloved pup, because isn’t every day #NationalDogDay?


The Breakdown: Dog / Pet Holidays

January (National Train Your Dog Month; Walk Your Pet Month)
  • January 2nd: National Pet Travel Safety Day
  • January 14th: National Dress Up Your Pet Day
  • January 24th: Change A Pet’s Life Day
February (Dog Training Education Month, Spay/Neuter Awareness Month, Pet Dental Health Month, Responsible Pet Owners Month)
  • February 14th: Pet Theft Awareness Day
  • February 20th: Love Your Pet Day
  • February 22nd: Walking The Dog Day
  • February 23rd: International Dog Biscuit Appreciation Day
  • February 27th: World Spay Day
March
  • March 3rd: If Pets Had Thumbs Day
  • March 13th: K-9 Veterans Day
  • March 23rd: National Puppy Day
April (National Adopt A Greyhound Month, National Heartworm Awareness Month, National Pet First Aid Awareness Month, Prevent Lyme Disease In Dogs Month, Prevention of Cruelty to Animals Month)
  • April 7th: Tag Day
  • April 8th: National Dog Fighting Awareness Day
  • April 11th: National Pet Day
  • April 11th: Dog Therapy Appreciation Day
  • April 21st: Bulldogs Are Beautiful Day
  • April 26th: National Kids and Pets Day
  • April 30th: Adopt A Shelter Pet Day
May (National Pet Month, Responsible Animal Guardian Month, Pet Cancer Awareness Moth, Chip Your Pet Month)
  • May 1st: National Purebred Dog Day
  • May 12th: National Animal Disaster Preparedness Day
  • First Full Week of May: National Pet Week
June (National Pet Preparedness Month)
  • June 8th: Best Friends Day
  • First Full Week of June: Pet Appreciation Week
  • Take Your Dog To Work Day typically falls in June
June (Dog House Repair Month, National Lost Pet Prevention Month)
  • July 1st: ID Your Pet Day
  • July 15th: National Pet Fire Safety Day
  • July 31st: National Mutt Day
August
  • August 26th: National Dog Day
  • August 28th: Rainbow Bridge Remembrance Day
  • August 20th: National Holistic Pet Day
September
  • September 13th: Pet Birth Defect Awareness Day
  • September 15th: Responsible Dog Ownership Day
  • September 23rd: Dogs In Politics Day
  • September 28th: World Rabies Day
  • Last Full Week of September: National Dog Week
October (Adopt-A-Dog Month, Adopt-A-Shelter Dog Month, National Animal Safety and Protection Month, National Pet Wellness Month, National Pit Bull Awareness Month, National Service Dog Month)
  • October 1st: National Dire Pup Day
  • October 1st: National Black Dog Day
  • October 4th: World Animal Day
  • October 10th: National Pet Obesity Awareness Day
  • First Full Week of October: National Walk Your Dog Week and Animal Welfare Week
November (Adopt A Senior Pet Month, National Pet Awareness Month, National Senior Pet Month, Pet Cancer Awareness Month, Pet Diabetes Month)
  • November 1st: National Cook For Your Pets Day
  • November 7th: National Canine Lymphoma Awareness Day
  • First Full Week of November: National Animal Shelter Appreciation Week
December
  • December 2nd: National Mutt Day

As you can see, Joey wasn’t wrong. Basically, every day can be #NationalDogDay. Let’s celebrate our beloved furchildren as often as we can, because they bring us so much joy and love!

eats, life

Van Life: Reaction Video

Yesterday we posted about our friends, Courtney and Bryce, who are traveling the United States in their van. They recently posted a video of the meals they eat during a typical day on the road. To celebrate (and lovingly mock) them, we thought it would be fun to replicate their meals in our full-sized kitchen and document our reactions in this 9-minute video. Enjoy! (Because you probably won’t get many more of these.)

We made oatmeal, chickpea salad sandwiches, and peanut butter stir fry! You can find more details about those recipes here, as well as see the full video from Courtney and Bryce, which gives you a better idea of how to make them.

What we learned from making their meals:

  • There are delicious plant-based recipes out there you can make and love to eat. (This may sound blasphemous, but not everything has to be made on the Big Green Egg.)
  • It’s hard to make yourself vulnerable to an audience on camera.
  • Documenting your life on camera is consuming, so it’s important to take moments to just enjoy what you’ve created.
  • We don’t live a cool, van life, so we have the time to make reaction videos to our friends’ lives, apparently.
  • Our friends are adorable and funny, and we love them for putting up with us (and this video).
  • Oatmeal doesn’t fill you up. But peaches on your oatmeal are by far the best fruit to put on your oatmeal. (Tehehehe.)
  • You can make the chickpea salad sandwich your own by swapping out ingredients, as Courtney mentions in their video. Melissa suggests swapping tomatoes for grapes!
  • Make the peanut butter stir fry with just a half bag of rice noodles for more saucy and veggie goodness! Also, dabbing Sriracha or sprinkling some cracked red pepper could add a little spicy kick.
  • Two people can eat on $22/day and have leftovers to spare.
  • We are incredibly proud of our friends, Courtney and Bryce, deeply respect what they have been able to accomplish in the last five months on the road, and look forward to seeing what else is in store for them!

$22/day for 6 meals = $3.68/meal

We went to KROGER to buy all the ingredients to make these meals, and it cost us a whopping $22, and we even had leftovers! We think that’s amazing. Courtney and Bryce get a lot of questions about how they afford to take a trip like this. It’s because they make sacrifices all the time by 1) making everything themselves even when it means the inconveniences of doing dishes at a campsite, and 2) not spending money on going out to eat along their trip. We’re not sure that’s something we could do!

The last thing we want to point out is that their meals are healthy. Yes, they have a lot more carbs than we’re used to, but because they are healthier grains, we burned through them fast – especially on a VERY hot Houston day. Typically, people make excuses for not eating healthy. “It’s too expensive or too hard to cook.” But their videos  prove healthy meals can be affordable and easy (especially if you’re not living in a van).


Dear Courtney and Bryce,

Thanks for being such an inspiration! We are literally telling everyone we know to SUBSCRIBE to your page. We love you!

12742446_10153659953586263_727505759543845714_n

eats, extras

Van Life: What Our Friends Eat On The Road

Today’s special extra comes from our DINK friends, Courtney and Bryce Zinckgraf. For those of you who don’t know us, Courtney and Bryce are the reason we’re married and so in love. They paired us to walk down the aisle together at their wedding, and the rest is history. But this post isn’t about us – it’s about them!

img_0395

“Hi! We are from Jacksonville, FL. We quit our jobs, bought a 30-year-old van named Hidalgo and fixed it up. Now, we are living full time in the van while we drive around America seeing National Parks and meeting cool people.”

For those of who haven’t seen any of their videos yet, you’re in for a real treat. You can follow their journey HERE (and hit “Subscribe” – you won’t regret it).


But this EXTRA is all about their most recent video, which is what they eat in a typical day. We wanted to share two of their recipes with you, since we’re such foodies! See the full video and the two recipes below:

Chickpea Salad Sandwiches

Ingredients:
  • 1 can of chickpeas
  • 1 Avocado
  • ½ Medium onion
  • 1 Apple -1 tomato
  • Salt to taste
  • Garlic powder to taste
Directions:
  • Empty chickpeas into a large bowl
  • Mash about ½ to ¾ of the chickpeas
  • Add avocado and mash to combine
  • Dice the onion, apple, and tomato
  • Add diced onion, apple and tomato to bowl with chickpeas and avocado
  • Add salt and garlic powder to taste
  • Stir to combine
Other things that are good in chickpea salad sandwich:
  • Mustard
  • Celery
  • Pickles
  • Lots of possibilities!

Peanut Butter Stir Fry

Ingredients:
  • Rice Noodles (check package for serving size and cooking instructions)
  • 1 medium onion
  • 1 bell pepper
  • 1 small package of mushrooms
  • 1 head of broccoli Sauce
  • ¾ cup peanut butter
  • ½ cup soy sauce
  • 3 cloves garlic (or however much you want)
  • 2 tablespoons minced ginger (or however much you want) –
  • Splash of water to thin it out
Directions
  • Cook rice noodles based on packaging instructions
  • While the noodles are cooking combine all of the sauce ingredients and mix well
  • Dice the onion and pepper
  • Cut up the broccoli
  • Lightly stir fry the onions, pepper, mushrooms and broccoli (or cook to your liking)
  • Combine rice noodles, veggies, and sauce
  • Mix to combine

Viola – there you have it! A special treat from our two friends who are pursuing their dreams and have the most incredible videos and photos to prove it. We hope you enjoyed this EXTRA and continue following Courtney and Bryce on YouTube or Instagram.

img_0394

life

Movie Review – Incredibles 2

Although it’s been over a month since the release of the highly anticipated Incredibles 2 movie, you can deal with our late review. Pixar Animation Studios made us wait 14 years for a new Incredibles movie, so you guys can wait over a month for us to see the movie and write about it. Plus, our review is still timely, as Disney just announced the digital and Blu-Ray release dates:

  • Digital: October 23, 2018
  • Blu-Ray: November 6, 2018

On a funnier note, we thought we would look like this in the movie theater:

6a00e54ee7b642883301538f289652970b-500wi

But instead, there were plenty of couples just like us, because this movie was MADE FOR US! Keep quiet kids, your parents (and DINK friends of your parents) want to know what powers Jack Jack inherited.


Melissa’s Review

4 out of 5 stars

Let’s start with the short film before Incredibles 2, Bao. Bring on the laughs, tears, and ultimately, a gut-wrenching twist at the end, which left everyone in our movie theater in shock. Bao depicts an over protective mom, balancing the parent-child relationship, especially as her son grows up and becomes independent. It’s worth going to see Incredibles 2 just to see this beautiful Pixar short film that leaves you wanting to hug your mom and eat delicious Chinese dumplings (which hopefully do not come to life).

Despite making us wait 14 years, I think everyone will agree Incredibles 2 was worth the wait. The movie gives you a glimpse of the 17 different powers Jack Jack has acquired (Yes, you heard me correctly.), which is by far the BEST part of the movie. The film takes you on a familiar journey with a nostalgic story line. It’s best to describe as being brought straight back right to 2004. In addition to seeing Jack Jack’s new superpowers, viewers also get to see more from Elastigirl, which is definitely something we have all been waiting for.

I definitely recommend seeing in theaters this weekend – or even waiting the two months until the digital release date, but you should definitely add this soon-to-be Pixar classic to your watch list.


Joey’s Review

4 out of 5 starts

Was it worth the 14-year wait? OH SUURREE. I thought the movie was great and worth the trip to the movies. It was no surprise that Pixar did a great job on this one and made it on par or better than the first. There were funny moments, serious times, and lots of crime fighting thrills. I’m giving this a 4 out of 5 and would tell anyone in our age group who saw the first one as pre-teens/teens, you have to see this one for the millennial generations’ sake!


life

Book Review: “Braving The Wilderness” by Brené Brown

Melissa here. Before I even start this review, I want to tell you something:

MAKE TIME TO READ.

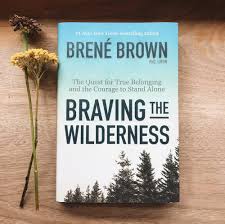
My latest read, Dr. Brené Brown’s “Braving The Wilderness: The Quest for True Belonging and the Courage to Stand Alone,” is the reason you have to make time to read. Now, I can get to the review.


5 out of 5 stars

If I could give this book higher than five stars, I would. Honestly, I think everyone should read this book, because the world would be a better place. Let me walk you through a few of my favorite takeaways.

braving the wilderness 3

To really “brave the wilderness,” Brown walks us through four elements, which are each chapters in her book:

People Are Hard to Hate Close Up. Move In.

In this chapter, Brown talks about the incredibly divisive world we live, and what we can do to stop dehumanizing one another. She also includes a powerful interview with Viola Davis who says:

“We are all worthy of telling our stories and having them heard. We all need to be seen and honored in the same way that we all need to breathe.”

Speak Truth to Bullshit. Be Civil.

This chapter explores the lesson of words being the ultimate weapon. She gives a few examples of this, but one stuck out to me most. It was about a son who verbally attacked his father for calling a neighbor he was helping “Oriental.” Instead of engaging his father in a civil conversation about how the term is outdated, both shut down. This stuck out to me, because I think the son was trying to speak truth to bullshit, but in excluding civility, ended up adding to the bullshit.

Hold Hands With Strangers.

This chapter was emotional for me. Brown talks about a few times in her life where she came together with strangers to mourn, celebrate, collaborate, and more. The one that stuck out to me was her recollection of the Challenger explosion. She was driving down FM 1960 in Houston, and a bunch of people were pulled off to the side of road. She joined them and learned the space shuttle had exploded. Together, they sat there for 10-15 minutes and just cried and grieved together. Then, they returned to their cars. Despite the tragedy, there’s beauty in coming together with complete strangers and being there for each other because it’s the right thing to do.

Strong Back. Soft Front. Wild Heart.

This chapter is harder to explain – you just have to read it! It talks about how achieving a wild heart isn’t a one-time effort. It’s something you have to work at every day. There will be days when there are haters, but be true to yourself, let attacks roll off you, and continue your quest for true belonging and the courage to stand alone.

braving the wilderness 1


I’m hoping to get Joey to read this one soon!  It’s one of the best books I’ve read in awhile. I’ve been coming back to it everyday to remind me how to be true to myself.

You should totally BUY IT HERE.

eats

Dijon Salmon and Cashew Slaw

We were feeling like a summertime fish dish, so we came up with these Dijon salmon and cashew coleslaw recipes.


Inspiration Sparkers

But first, we’ll give credit where credit is due. Our recipes are based off of two sources, which we tweaked to fit our preferences. But if you want recipes with more directions and artsy photos, then you may want to check out the original recipes:

Thanks for helping to spark our foodie inspiration!


Dijon Salmon

Ingredients

  • 1 1/2 lbs salmon
  • 1/4 cup fresh parsley, finely chopped
  • 1/4 cup Dijon mustard
  • 1 tbsp lemon juice
  • 1 tbsp avocado oil
  • 3 garlic cloves, finely chopped
  • salt and pepper

Directions

  1. Place salmon on cedar plank.
  2. Mix remaining ingredients in small bowl and generously top salmon.
  3. Set the Big Green Egg (BGE) to 400 degrees direct.
  4. Once the BGE is up to temperature, place the cedar plank with the salmon on the grill grate and close the dome and let the fish cook for 12-15 minutes.
  5. Check the internal temperature of the fish and once it hits 140-145 degrees you are ready to pull it off the grill.
  6. Be careful when removing the cedar plank because it will be hot and possibly still have burning embers on the bottom.
  7. Enjoy!

Cashew Slaw

Ingredients

  • 14 oz coleslaw package (Make sure it’s not already dressed.)
  • 1 tablespoon olive oil
  • 1/2 tablespoon red wine vinegar
  • 1/4 cup mayonnaise (We actually used Veganaise!)
  • 1/2 cup roasted cashews (You can crush some of the cashews if you would like.)
  • 1/4 cup parsley, chopped
  • Salt and pepper, to taste

Directions

  1. Mix everything in a bowl, season to taste, and enjoy!

img_3565

extras

How To Tuesday: Build A Raised Planter Box

Recently we have been dabbling in growing small herbs on our kitchen windowsill, and then Joey caught the bug when he planted a pineapple and it started to take off! We had talked about starting a real garden in the backyard but didn’t know exactly what we wanted, because Regal also loves to play in the yard. Joey decided he was going to build a raised planter box, so we could move it around the yard if need be and keep the plants out of harms way (aka Regal and his racquetball). To make the planter, box it only took about 5 hours on a Sunday morning/afternoon and cost about $100 in supplies. If you decide to give this a try, don’t hesitate to ask us questions and be sure to tag us on Facebook or Instagram so we can see how it turned out!

**These supplies and measurements are based off the 4ft x 2ft x 11in box we made and it stands about waist high (30 inches).**

Supplies:

  • Tape Measure
  • Pencil
  • Circular Saw
  • Drill
  • Saw Horse
  • Nails ( 1-5/8in. )
  • Screws (1-1/4in. )
  • Wood Glue
  • Cedar Boards 1x4x8 (3 total)
  • Cedar Boards 1x6x8 (5 total)
  • Cedar Board 1x2x8 (1 total)

*We used cedar wood because it is strong, does not contain chemical like pressure treated and does not rot easily.*

Steps & Directions:

  1. Pick up the supplies from your local home improvement store.
  2. Measure and cut the 1x4x8 into eight 30 inch pieces for the legs and one piece 24 inches in length
  3. Assemble the four legs by overlapping two pieces of wood making a right angle (see pictures below for set up).  Apply wood glue along the edge of one piece and clamp them together, one on the top and one on the bottom to help the glue set.
  4. While the two pieces are clamped together, nail the center section together with two nails equal distance from the top and bottom clamps. After you remove the clamps hammer in a nail where the clamps were.
  5. Repeat steps 3&4 until all four legs are assembled.
  6. Measure and cut the 1x6x8 boards into four 4ft long pieces.  These will be used for the long side of the box.
  7. Measure and cut the 1x6x8 boards into four 2ft long pieces. These will be used for the width sides of the box.
  8. If you made the first cuts correctly, you should have leftover 1×4. Take what you have and cut them into four 4in. to 5in. pieces.  You will use these to attach the Length & Width pieces when they are stacked together on the soil facing side of the wood. (See picture below.)

  9. Once you have all the sides stacked and attached you are ready to glue and screw them to the legs.
  10. Take one side at a time and line it up with the inside of a leg.  Apply some wood glue to the leg where you will screw the side to the leg. Apply four screws the the soil facing side of the 1×6 into the leg.  When drilling in the screws be sure to go slow so you don’t split the boards or drill to far and go all the way through the leg. 
  11. Repeat step #10 until all 4 sides are secured to the legs.
  12. Your planter box should be taking shape! Now its time to get the bed ready.
  13. Take the 1x2x8 and cut it in half.   You will use these two pieces as the shelf to lay the bed boards on.
  14. Cut the 1x6x8 into eight 24in. pieces.  These will be used for the bed along with the 24in 1×4 from step #2.
  15. Flip the now assembled box upside down so the legs are in the air. You are now going to glue and nail the “shelf” for the bed boards on to the bottom side of the 4ft boards.  Apply glue to the 4ft side of the box and then nail the “shelf” on.  I used about six nails on each “shelf” to give it strength because all the weight of the soil will rest on this. Repeat for the other side.
  16. Return the planter box to the correct standing position and begin to lay the bed boards in.  You might find the 24 in. 1×4 might be a little two wide, if this is the case trim it to fit. (We had to take off about an inch) We liked the way the pieces fit together and decided to not glue or nail them in.
  17. Now you are pretty much done!
  18. We took it one step further and decided to use our JJ George Torch to lightly burn the planter and give it a weathered look.  We chose to do this instead of staining it because it was cheaper and didn’t want to risk chemicals getting into the soil (If that is even possible…).
life

Tampa Family Beach Vacation 2018

Two weeks ago, in early August, we traveled to Tampa to spend some time with the Daigneault family. Here’s what we did:


Saturday, August 4, 2018:

We picked up Melissa’s Nana and her boyfriend, Jerry, and went to Tampa’s famous La Teresita for a Cuban breakfast. We sat in the cafeteria, and made sure to get our cafe con leche with buttered and pressed Cuban bread. The best part about this is dipping your bread in your coffee!

index

Next, we went and saw Joey’s parents at the new Pach’s Place location inside the Tahitian Inn. Pach’s original location recently closed, and it was a favorite of The Neeley Family. Everything here looked great, but we were too full from our first breakfast, so we just got more coffee.

Next, we hit the road to Madeira Beach! Our condo wasn’t quite ready, so we killed some time at John’s Pass. We were still full from breakfast, but Melissa’s parents wanted lunch, so we stopped in Beach Bites Cafe, where they ordered specialty hot dogs.

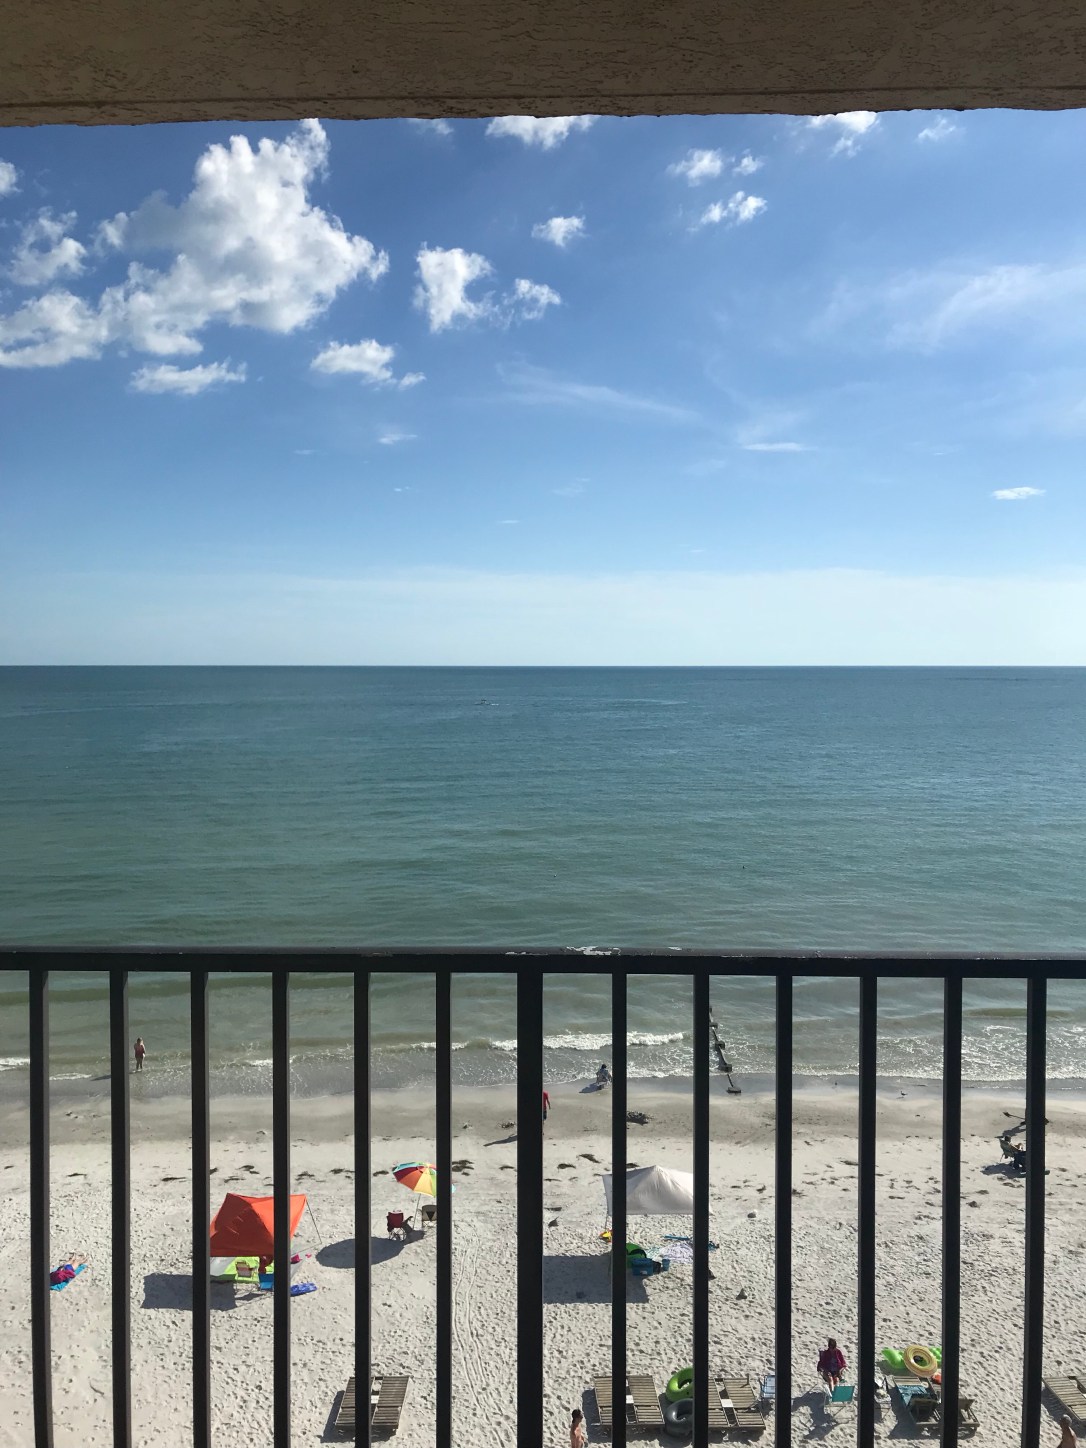
After lunch, the condo was ready. We found a great one on AirBnb. Check it out here. This was our view from our balcony:

img_3610

From there, we got a few nice hours on the beach before Melissa’s sister, Andrea, and her boyfriend, Jordan, arrived. We wrapped up our beach outing, and headed for dinner. For dinner, we went to Angry Pepper, where we both got fried shrimp baskets.

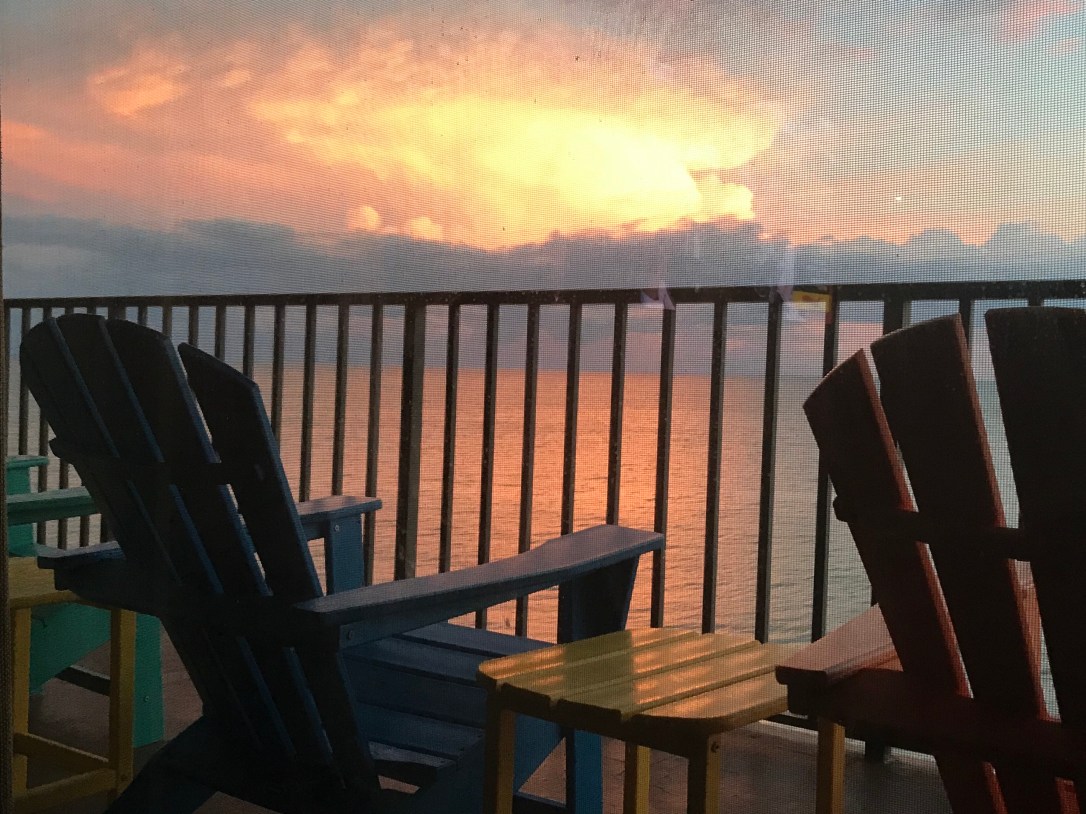
After dinner, we all went onto the balcony, where enjoyed our first sunset.

img_0146


Melissa Side Note: Here’s a fun one of Joey making a face while I was using him as a subject to show my mom how to use the portrait feature on her iPhone:

img_0140


Sunday, August 5, 2018:

On Sunday, we spent as much time at the beach as we could. We may have gotten a little burnt, but it was worth being able to soak up all that sun.


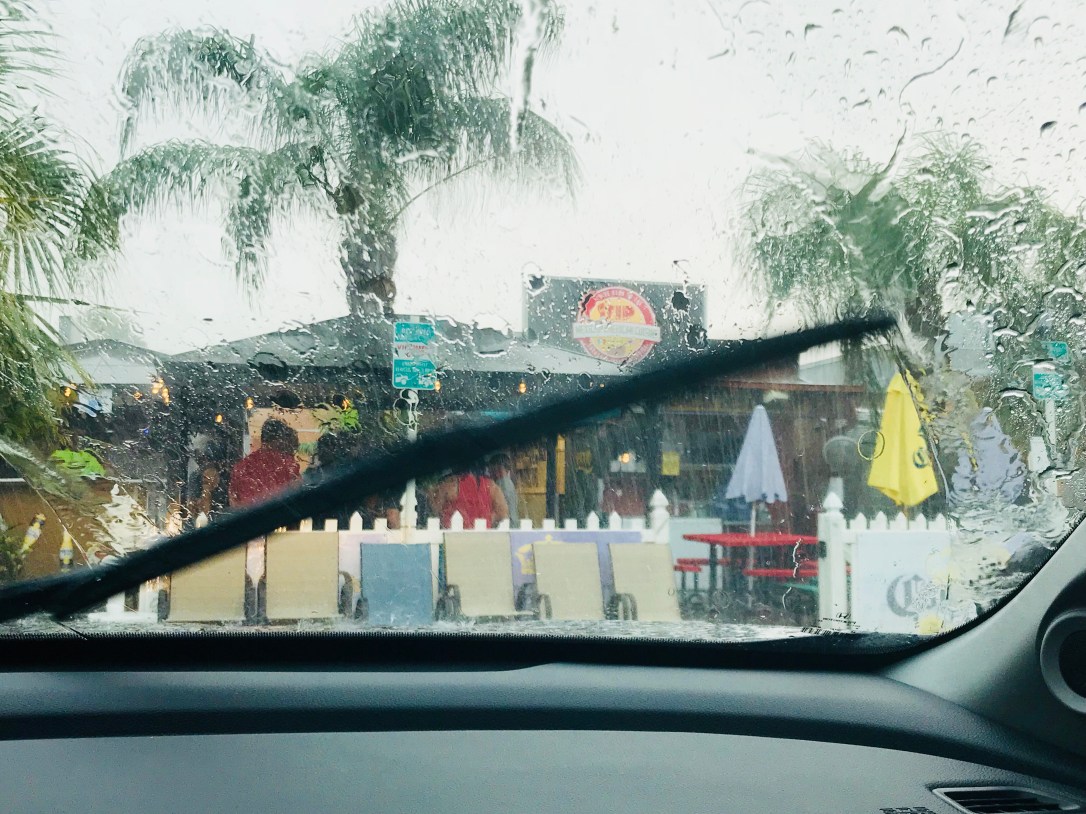
For dinner, we tried to go to VIP Lounge & Mexican Restaurant, which is a restaurant Melissa’s parents recently found on their last beach trip. However, Mother Nature decided it wasn’t the right night. The wait was an hour, and it started to storm. We tried to wait it out in our car, but VIP ended up losing power. We decided to leave and eat at the condo. We’re glad we did, because VIP’s power didn’t come back on for 2.5 hours.

img_0152

There was no sunset this night, but we stayed up playing Yahtzee and Rummy, while drinking my mom’s famous slush recipe, which you can find here.


Monday, August 6, 2018:

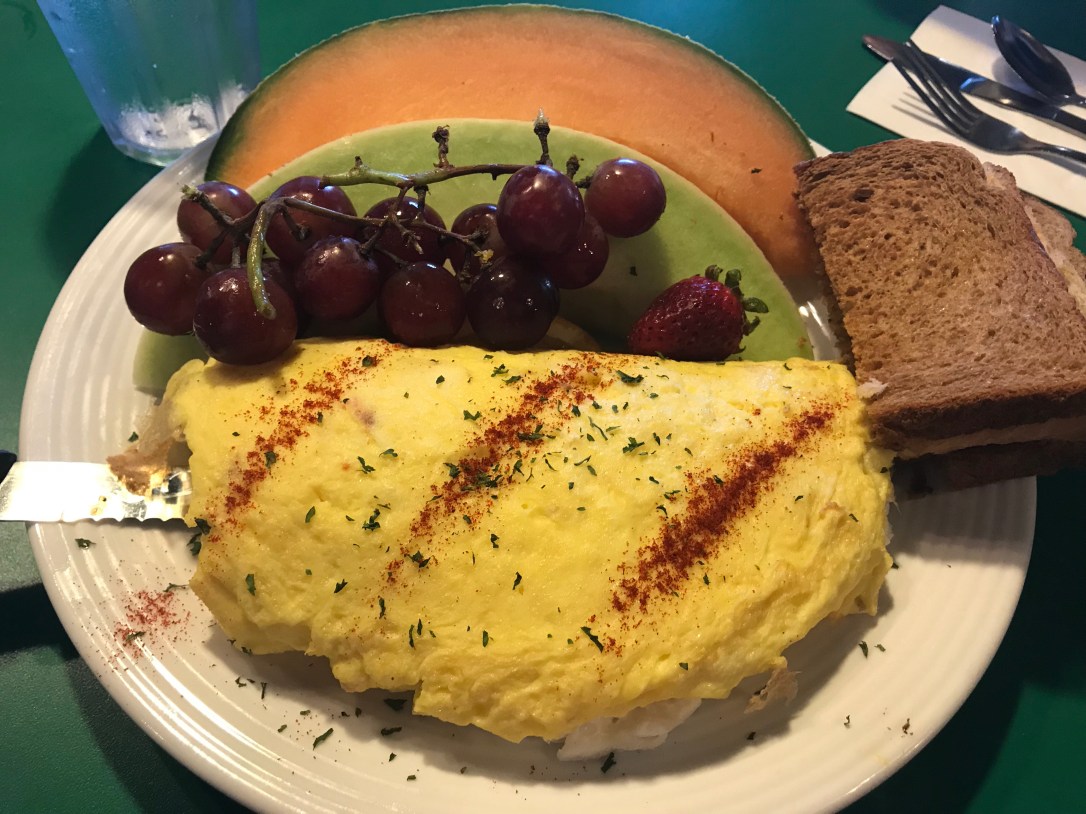
For breakfast, we decided we wanted to go to the Daigneault’s favorite breakfast place, The Frog Pond. Every summer, Melissa’s family would vacation at the beach. After checking out, they would walk on over to The Frog Pond. They’re known for their incredible omelettes.

img_3612
Melissa’s Krab & Cream Cheese Omelette

img_0157

After The Frog Pond, we spent a lot of time on the beach. We headed up a bit earlier than our family to work on some laundry. That way, we didn’t have to take home sandy clothes and wet bathing suits. Although our skin probably needed the break!

Next, we tried VIP Lounge & Mexican Restaurant again, and we made it inside!


It was delicious, even for us Texans who eat Mexican food on the reg! We went home to play more Yahtzee, and called it a night early. We had to wake up to catch a 6:25 a.m. flight on Tuesday morning.


Thanks for a great trip, Daigneault family!